Retrograde nailing approach to the distal femur
1. General considerations
The approach for retrograde nailing in periprosthetic fractures is attractive because it is minimally invasive.
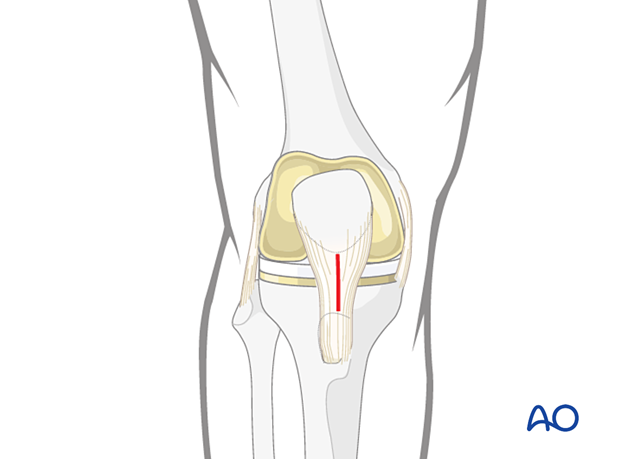
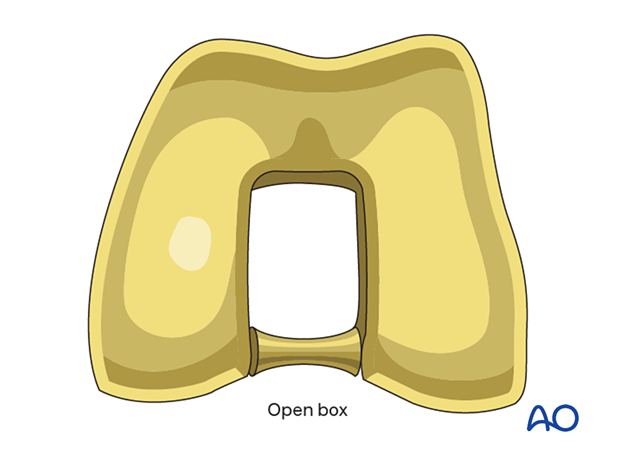
It is crucial to establish if the design of the femoral component includes an open box that will accommodate the nail entry point.
Many cruciate sacrificing prosthetic designs have a closed box that obstructs femoral nail entry.
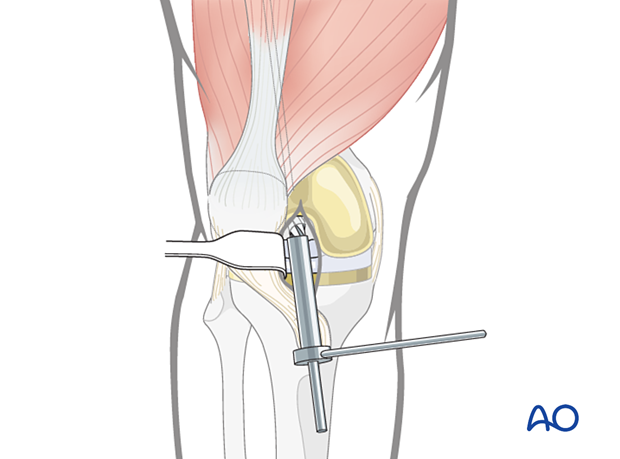
The tibial component may be damaged in reaming and should be protected with a sleeve.
2. Skin incision
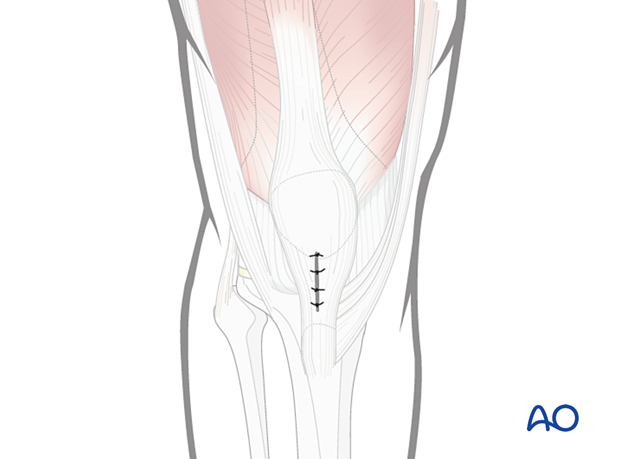
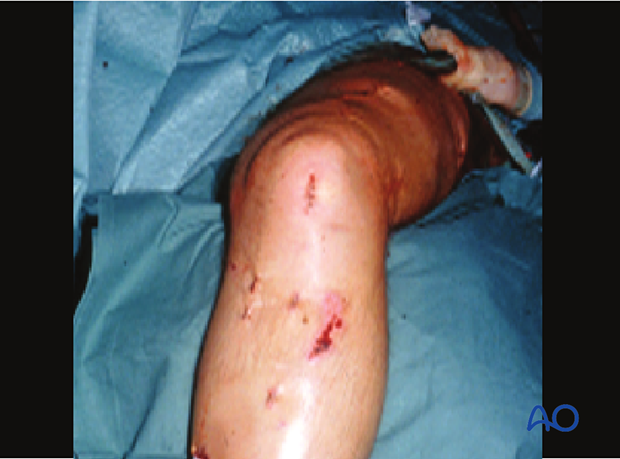
A skin incision is made longitudinally just distal to the inferior patellar pole, over the midline or the medial edge of the patellar tendon.

Clinical image of the skin incision.
3. Dissection
The medial parapatellar soft tissues are spread longitudinally with scissors. The patellar tendon is gently retracted laterally to allow for guidewire insertion.
The approach may alternatively involve splitting of the patellar tendon.
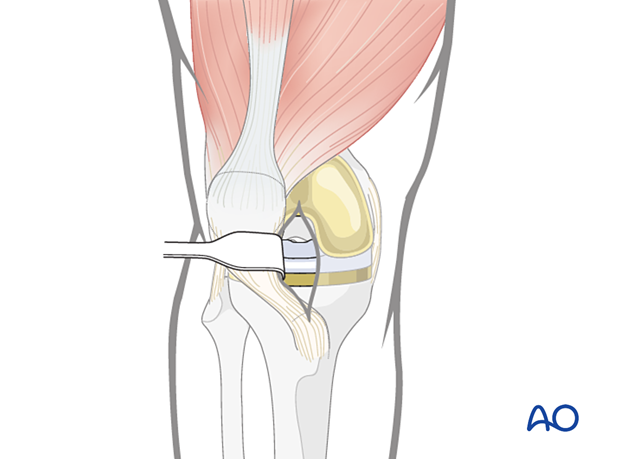
4. Localization of the entry point
It is important to locate the entry point under image intensifier guidance.
- On the AP view, the guidewire should be centered exactly in the middle of the intercondylar notch. This will usually be where the prosthesis has a hole located.
- On the lateral view, it should be located in the extension of Blumensaat’s line.
- The entry point of the nail is in line with the axis of the medullary canal, just below the crest of the intercondylar notch.
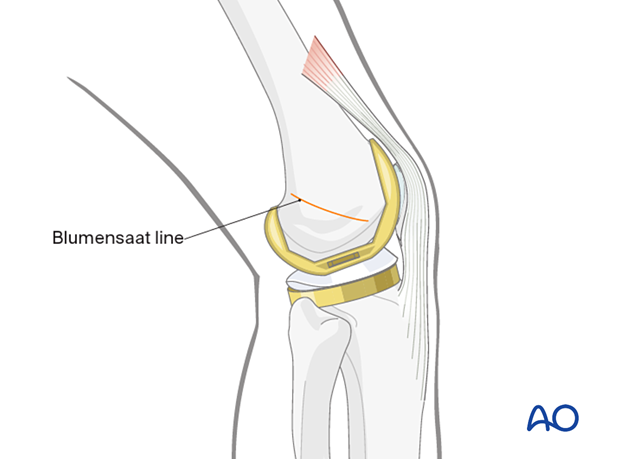
45° of knee flexion is desirable. With less flexion, the tibial component hinders the guidewire insertion. With more flexion, the patella is in the way.
Once the correct entry point is determined, a guidewire is inserted 3-4 cm.
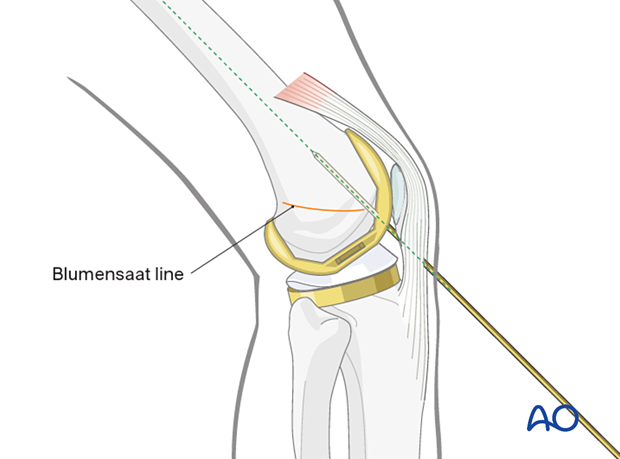
5. Opening the medullary canal
To open the medullary canal, the protection sleeve and drill sleeve are pushed over the guidewire into the notch, and the medullary canal is opened to a depth of approximately 30 mm using the cannulated drill bit.
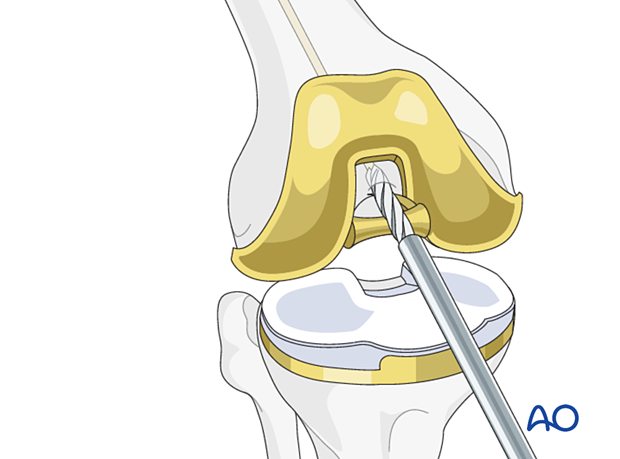
The drill bit, protection sleeve, and guidewire are then removed.
6. Wound closure
Before closure, irrigate the knee joint to remove any debris. Standard layered closure is performed. Close the skin with staples or nonabsorbable sutures.
