Prone position
1. Introduction
All fractures managed in the lateral position can also be managed in the prone position.
In addition, it is easier to access the medial aspect of the distal humerus by internally rotating the shoulder in the prone position.
The main disadvantage of prone positioning is access to the airway for the anesthatist.
2. Preoperative preparation
Operating room personnel (ORP) need to know and confirm:
- Details of the patient (including a signed consent form and appropriate antibiotic and thromboprophylaxis)
- Patient positioning
- Comorbidities, including allergies
- Site and side of the fracture
- Ensure that the operative site has been marked by the surgeon
- Type of operation planned
- Implants to be used
- Condition of the soft tissues
3. Anesthesia
- General anesthesia
- Regional nerve block
- Combination of nerve block and light general anesthesia
4. Patient positioning
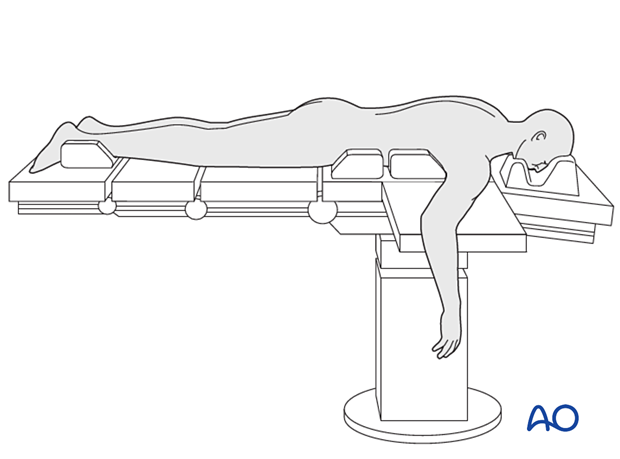
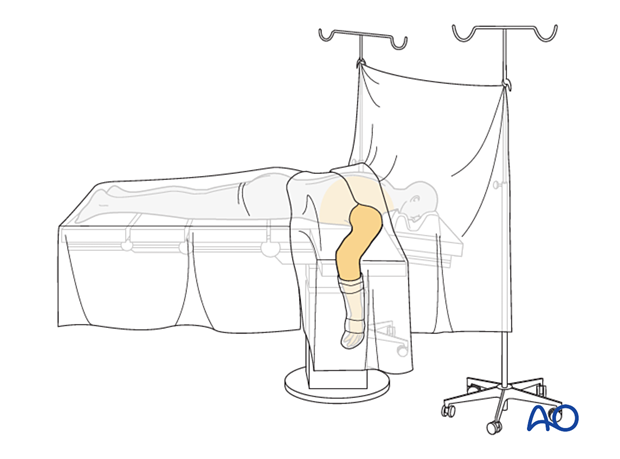
Place the patient prone as far toward the same side of the table as possible.
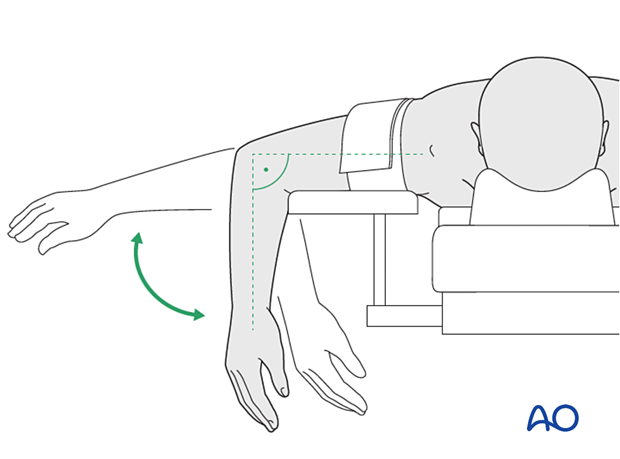
Place the operated arm on a radiolucent arm table or armrest so that the elbow movement is free.
Support the thorax before fixation of the patient’s head.
Take care to position the head and fix the endotracheal tube securely.
Ensure the anesthetist has always access to the airway.
Take great care with the soft-tissue and skin pressure points, particularly in the elderly.

The forearm should be in a position so that it can be flexed beyond 100°.
A small padded table can be placed under the forearm to support the elbow in extension when necessary.
Ensure that the shoulder is not too extended, so there is no tension on the brachial plexus.
Use of a tourniquet is optional.
If a tourniquet (sterile or nonsterile) is to be used, make sure the cuff is narrow enough that it will not encroach on the surgical field required for exposure.
5. C-arm positioning
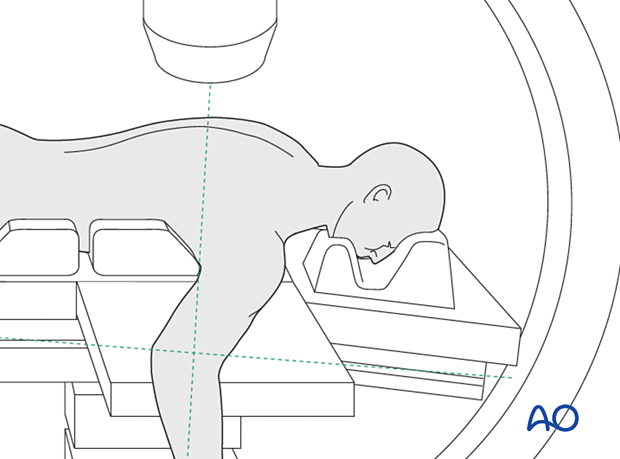
The entire humerus and elbow should be visualized in two planes with the image intensifier. The arm can be rotated to get AP and lateral views. This works best if the C-arm comes from the top of the table parallel to the table.
6. Skin disinfecting and draping
Ensure there is adequate access for imaging before disinfecting and draping.
During disinfecting and draping, make sure the shoulder is not too extended, particularly in elderly patients. It is often useful to elevate the table for this part of the preparation to make it easier for the assistant and then adjust the height to suit the surgeon.
Disinfect the exposed area from the shoulder to the hand, including the axilla, with an antiseptic.
Drape in such a way as to leave the upper arm and elbow joint exposed. The hand and forearm should be draped separately with a stockinette well fixed to the forearm.
Drape the image intensifier.
7. Operating room set-up
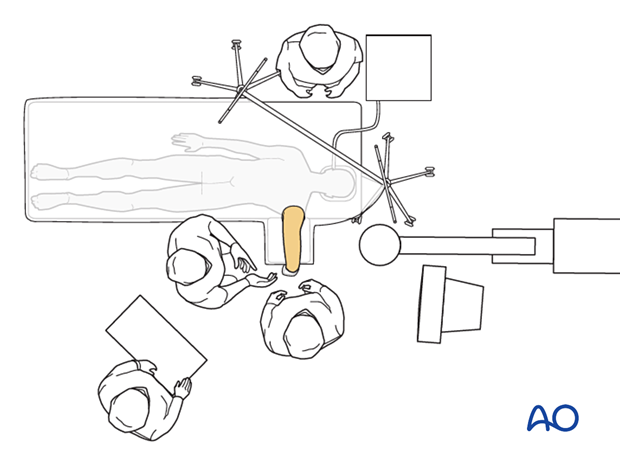
The anesthetist and anesthetic equipment should be situated at the side of the patient.
The surgeon and assistant stand on the side of the injury.
The ORP stands between (behind) the surgeons.
Place the image intensifier display screen in full view of the surgical team and the radiographer.
