Transolecranon approach to the distal humerus
1. General considerations
Introduction
This approach involves an osteotomy of the olecranon to give better access to the distal humerus.
There are several described patterns of osteotomy. The most commonly used technique is a distally-based chevron osteotomy as this provides greatest access and has inherent rotational stability.
Problems associated with an olecranon osteotomy can be limited by using a careful and meticulous technique for creating and repairing the osteotomy.
All osteotomy fixations may cause irritation which often needs later hardware removal.
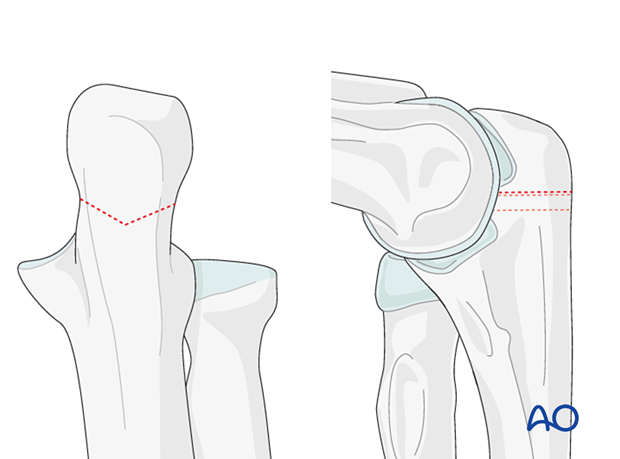
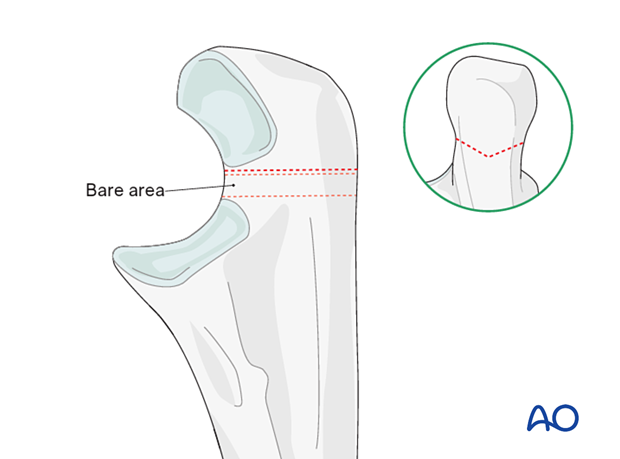
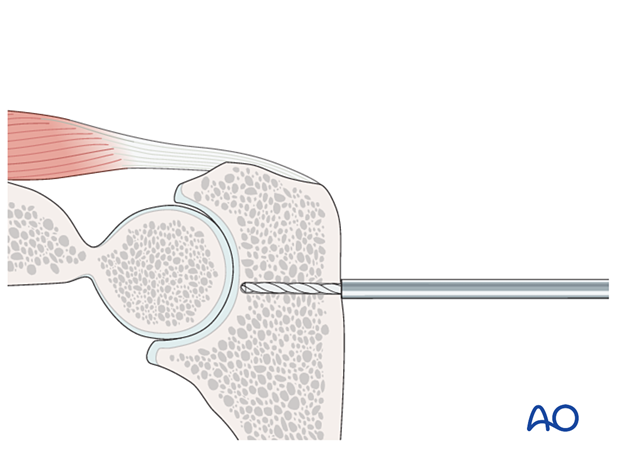
An osteotomy should aim for the bare area of the greater sigmoid notch to avoid cartilage damage.
The bare area is a region within the articular surface that is devoid of cartilage. Its size and orientation vary between individuals, but it is commonly identified by the narrowest part of the greater sigmoid notch.
2. Skin incision
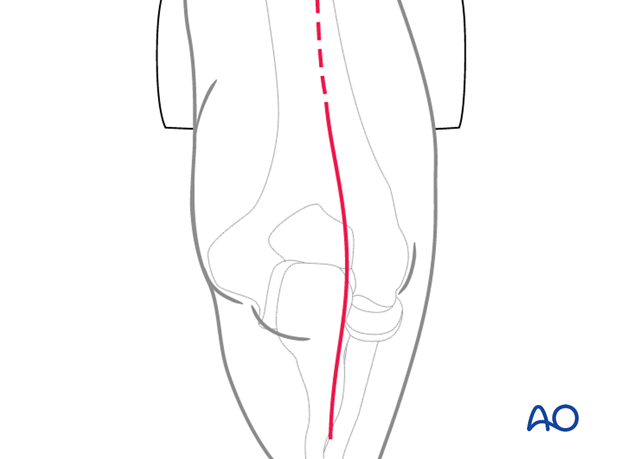
Make an incision centered on the junction of the middle and distal thirds of the humeral shaft. Avoid placing the incision over the tip of the olecranon. Some surgeons make a straight incision slightly medial or lateral, whereas others prefer a curved incision. The incision ends over the ulnar diaphysis.
Elevate full-thickness fasciocutaneous flaps to protect the cutaneous nerves.
3. Ulnar nerve mobilization
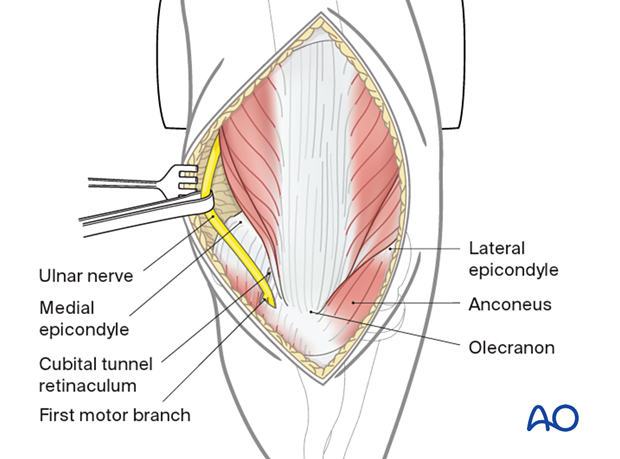
Identify the ulnar nerve proximally along the medial border of the triceps.
Release the ulnar nerve through the cubital tunnel up until the first motor branch by incising the flexor-pronator aponeurosis as the nerve passes between the two heads of flexor carpi ulnaris.
Whenever possible, take care to preserve the perineural vessels.
The nerve may be transposed or left in situ according to the surgeon’s preference, but it should be tension free and not in contact with suture material or metalwork at the end of the procedure.
Take care to protect and be mindful of the nerve throughout the entire procedure.
4. Osteotomy
Preparing the osteotomy site
Determine the site of the osteotomy by subperiosteal reflection of the anconeus laterally and the ulna head of FCU medially to expose the olecranon.
Clear the bone with a small elevator at the site of the planned osteotomy.
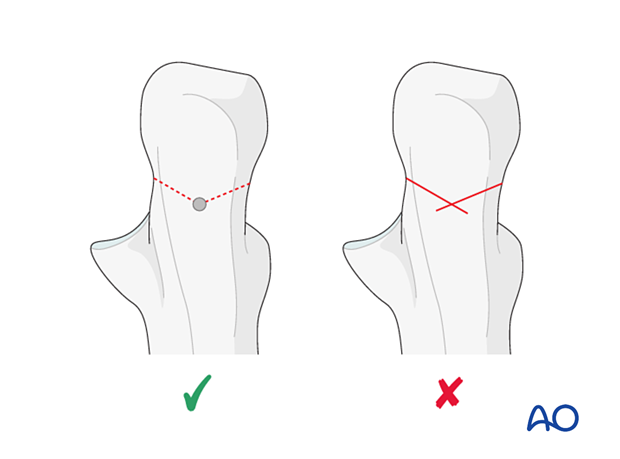
Mark a chevron osteotomy with a distal apex.
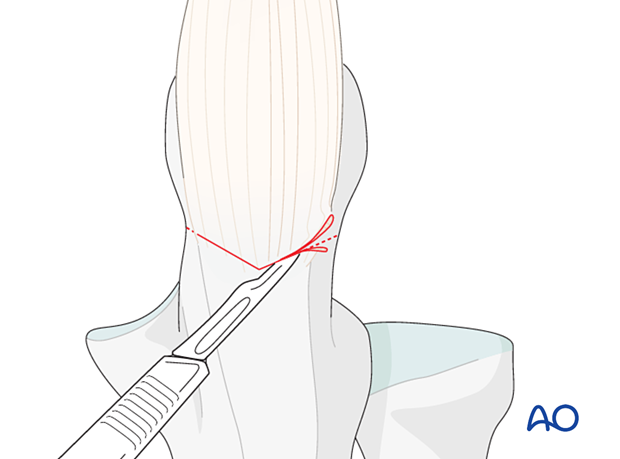
Pearl: Preparing for osteotomy fixation
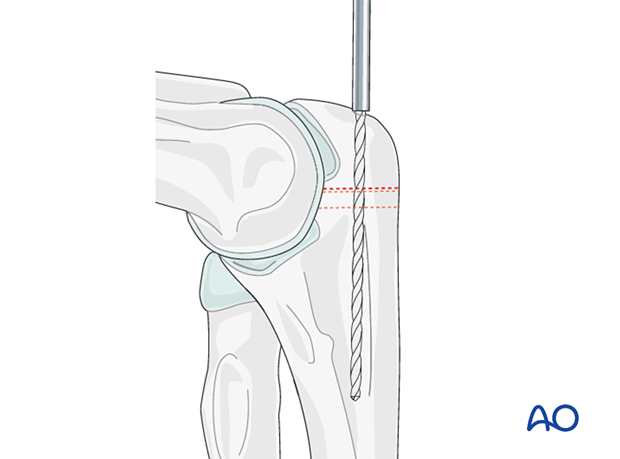
Pearl: Drilling apex of chevron mark
Performing the osteotomy
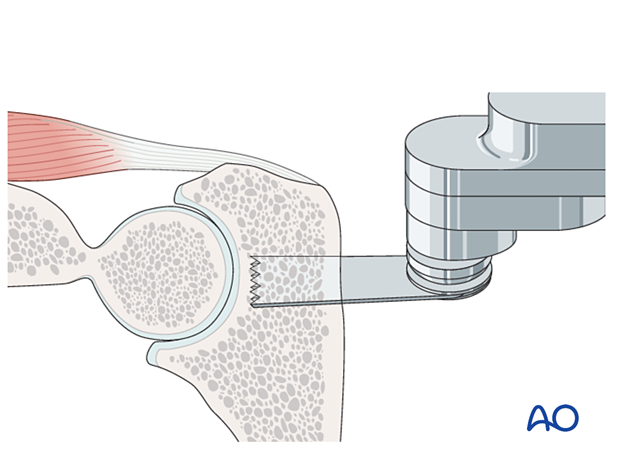
Use a fine oscillating saw to divide only up to three quarters of the depth of the bone.
Use saline irrigation to avoid overheating of the bone during sawing.
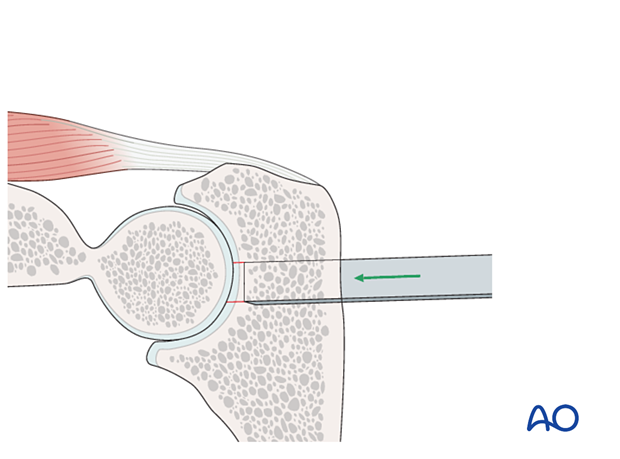
Use an osteotome to complete the osteotomy. Remember that the central ridge of the olecranon, which is strong, will need to be divided deeper, using a narrow-bladed osteotome.
Fracture the subchondral bone by levering the osteotomy apart.
5. Osteosynthesis of the olecranon osteotomy
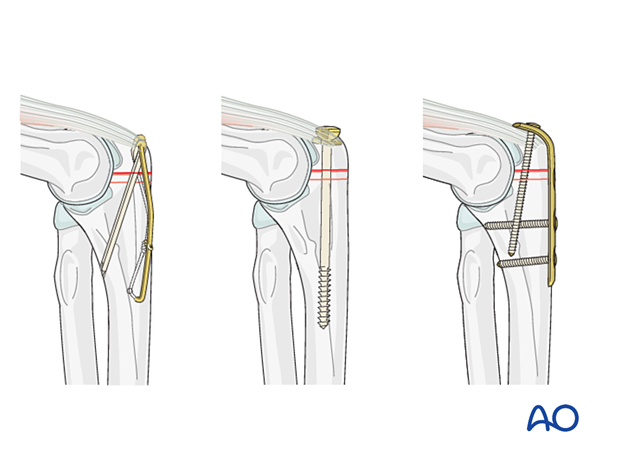
The olecranon osteotomy should be fixed according to surgeon’s preference. The three main options are:
